
Improved User Experience for Pipes!
We've made significant improvements to reduce the learning curve for using and building Tadabase Pipes.
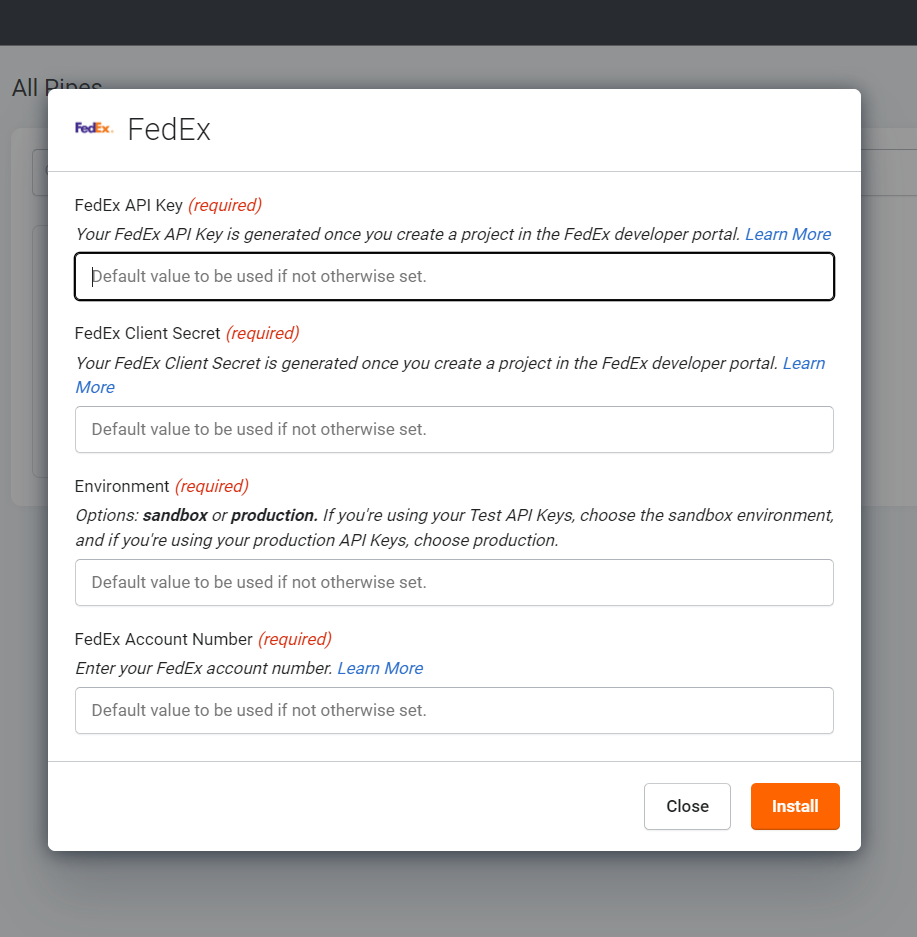
Installing and Using Pipes
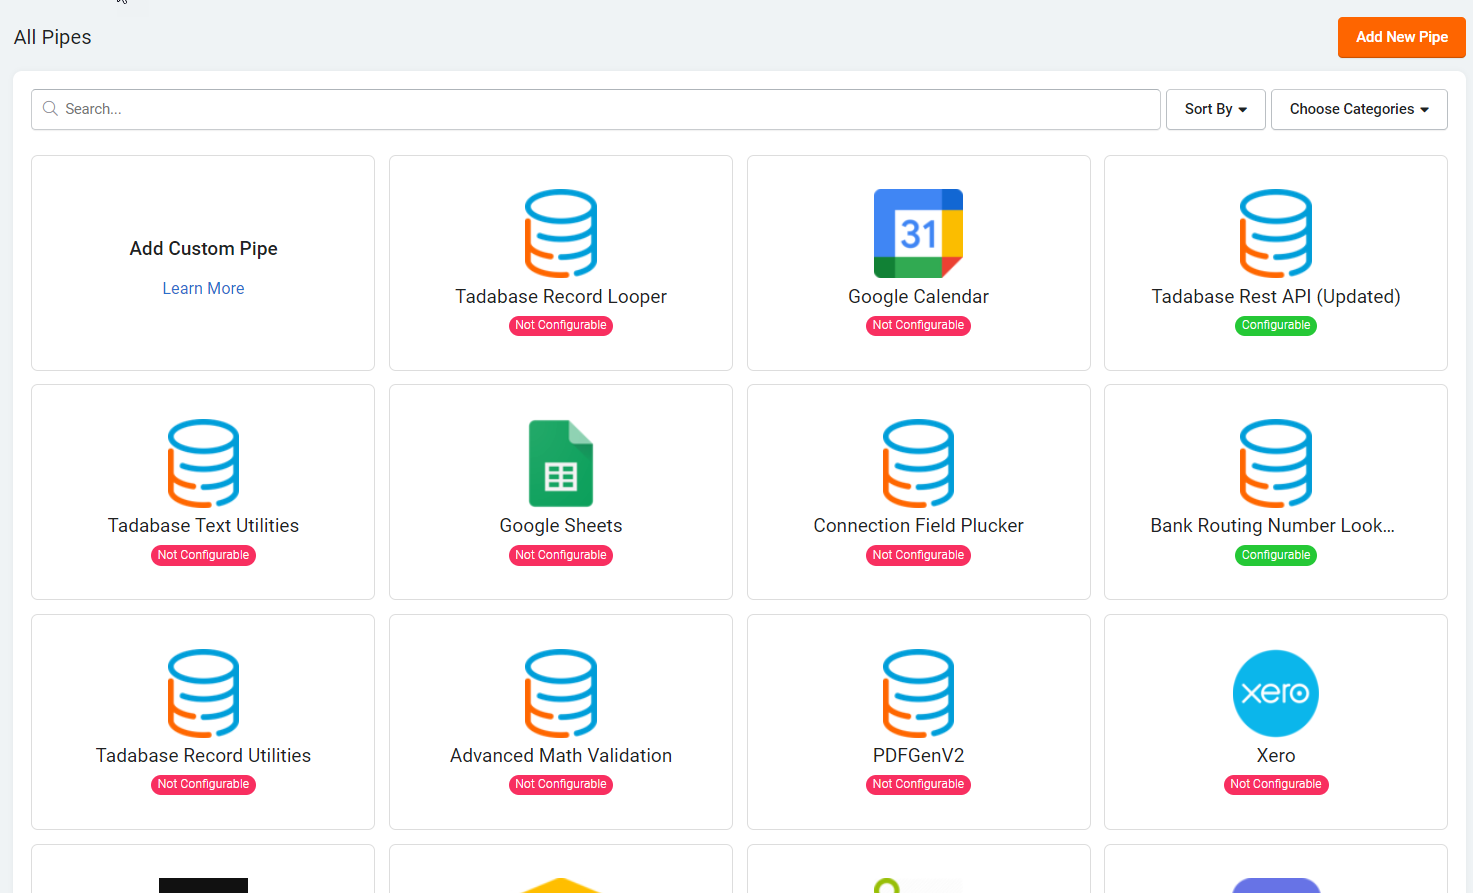
1-Click Install
The "Add Pipe" button has been moved to reduce confusion.

Links to Documentation and Video Tutorials
When installing pipes, you can now find links to the Pipe Documentation and/or Video Tutorial walking you through how to install/run the pipe.


Enable Debug Mode
Checking 'Enable Debug Mode' allows you to view the pipe response in the console of the live app.


Default Values Set in Parameters Tab Are Displayed in the Test Tab

The Overview 'Test' Tab Has Been Removed to Reduce Confusion

Table Rules - Pipe Validation Should Only Run if the Pipe is Set

For Table and Record Rules - Only Give the Option to Set Each Pipe Parameter Once

Tadabase API Keys - Default Value for Name
When creating a Tadabase API Key, the Name field generates a default value.

Show Star for Required Parameters in Test Tab of API Calls

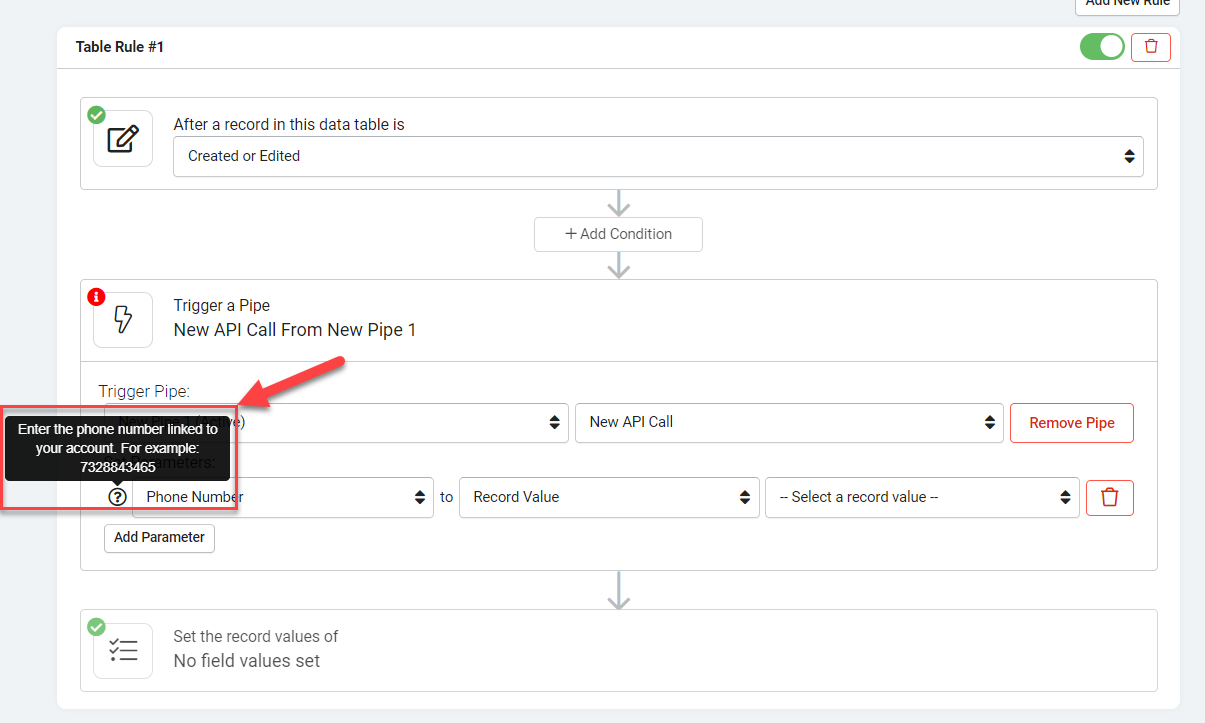
Show Tooltips When Setting the Parameters in Rules
Order Pipes According to Number of Installs
Ability to View Dropdown of All Fields

Show Error Message When Required Parameters Are Not Set in Test Tab

Remove Requirement to Update a Record to Pipe Response
Adding Custom Pipes
Link to Updated Documentation on Adding Custom Pipes
You can now find a link to the Updated Documentation on Adding Custom Pipes.

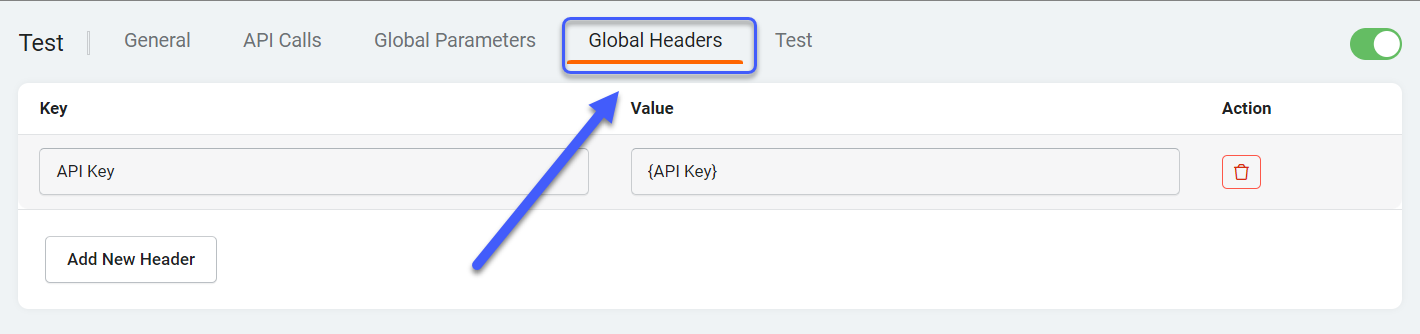
Global Headers
Use Parameter Names in Request Instead of Slugs
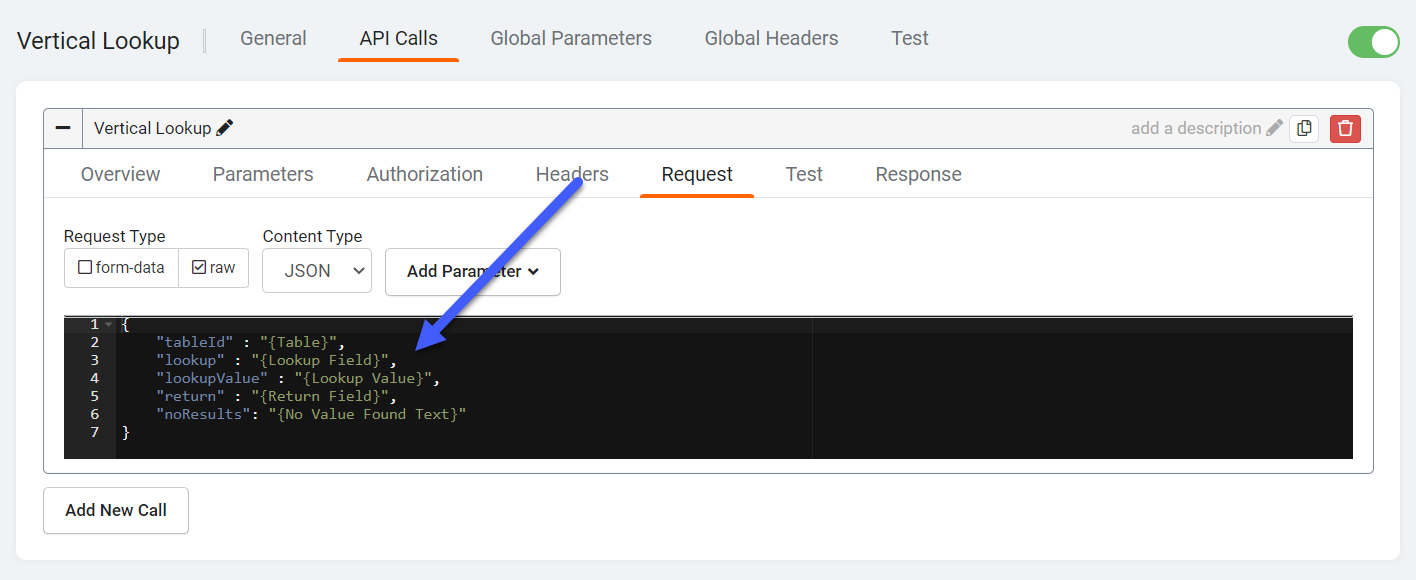
Add Parameters to Request via Dropdown
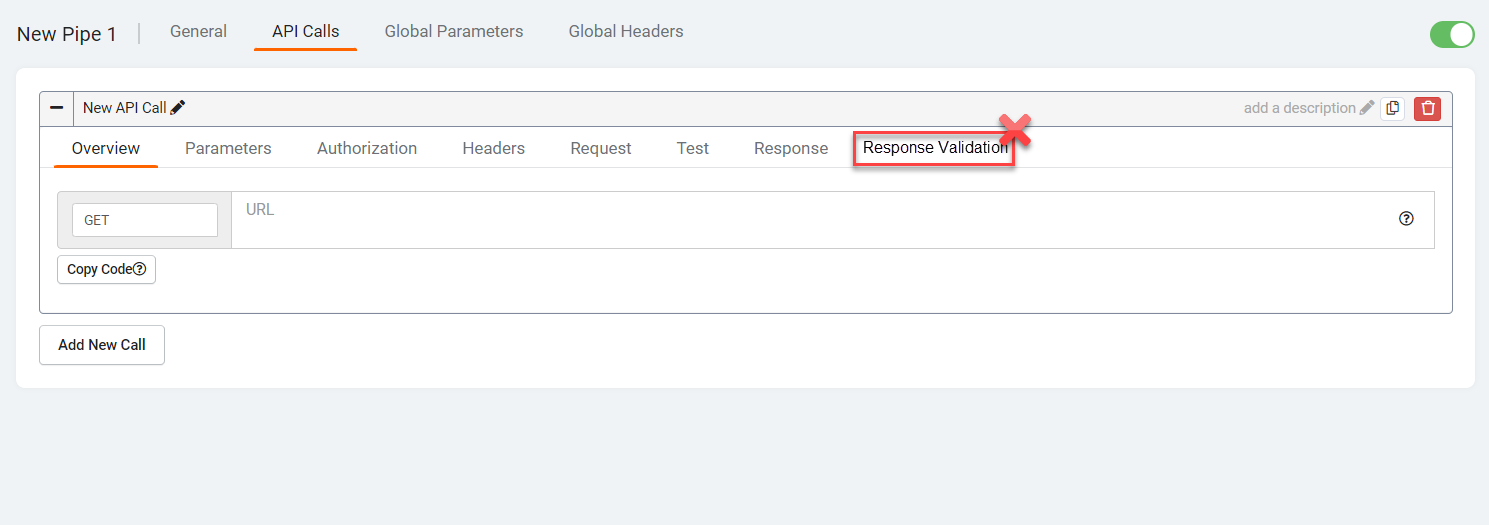
Response Validation was removed in order to reduce confusion.
Accept All Response Codes
Add an Option to Set the Parameter Type
Users can now set the Parameter Type to either 'Text' or 'Date/Time'.

Users can also set the date/time format when choosing the 'Date/Time' parameter type.
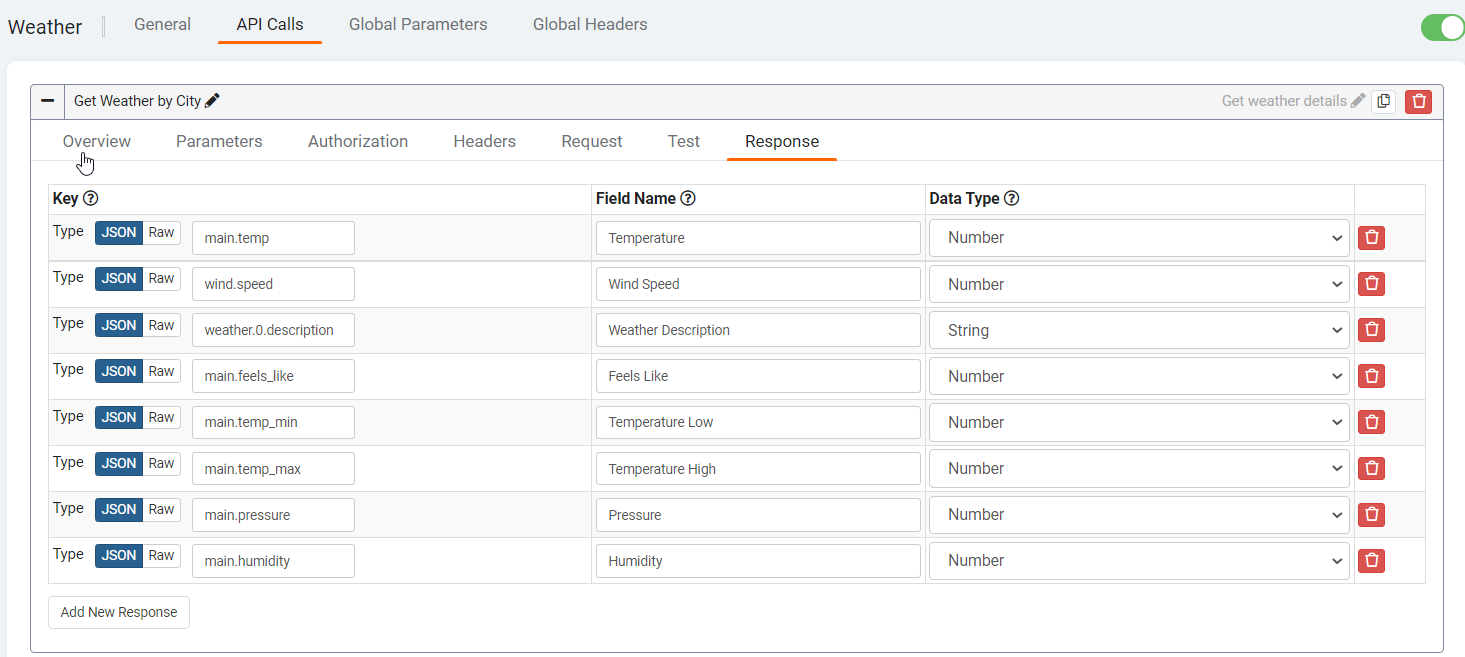
Populate Responses from Test Response
Users can now populate responses from the 'Test' tab by clicking on the 'Populate Responses' button.
 This window will pop up. You can select which response keys you would like populated by ticking off the check boxes. The field names will also be populated; the field names can be edited as well.
 You can choose to overwrite saved responses if the responses have been populated before. Then click 'Populate' to save the responses in the 'Response' tab.