Toggl Track Pipe
Create and mange time entries, projects, and clients in Toggl Track from your Tadabase app.
Install and Setup the Toggl Track pipe:
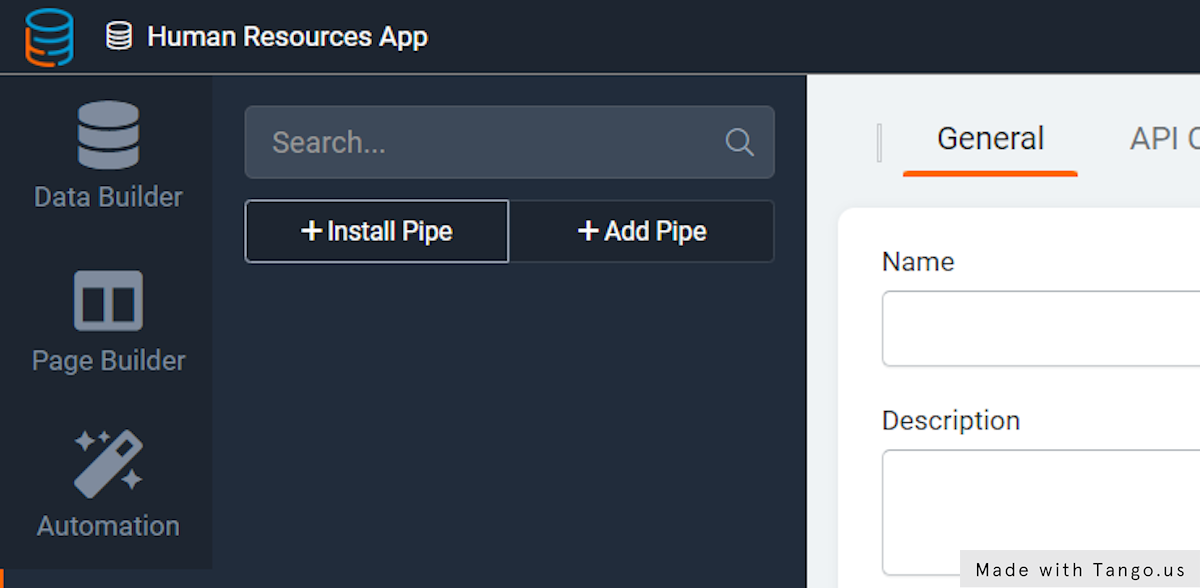
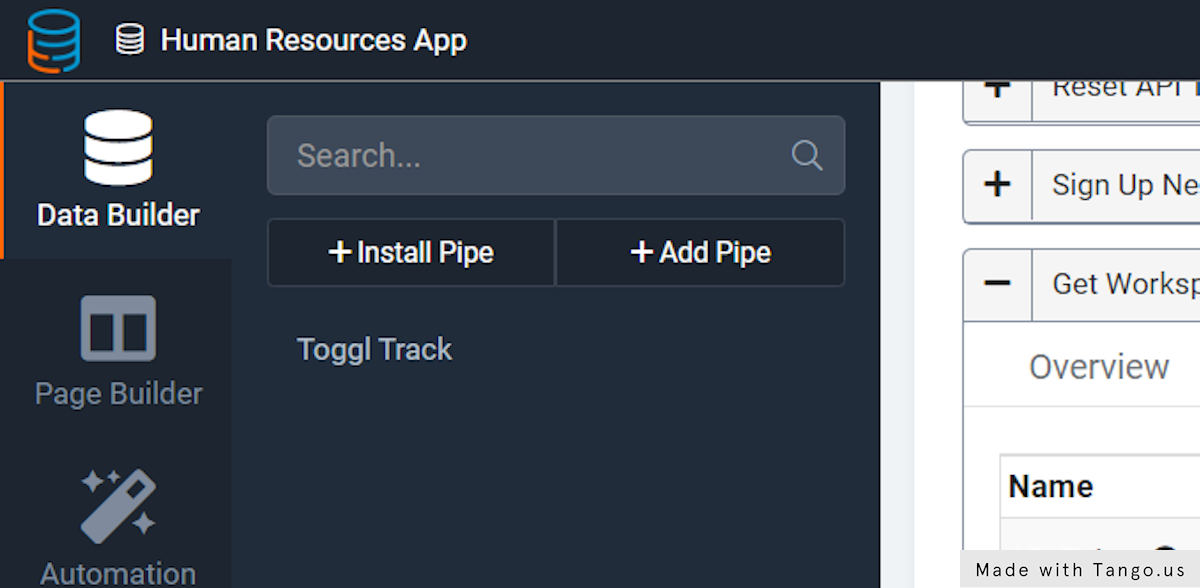
1. Go to your Tadabase app, and click on Pipes
3. Click on Install Pipe
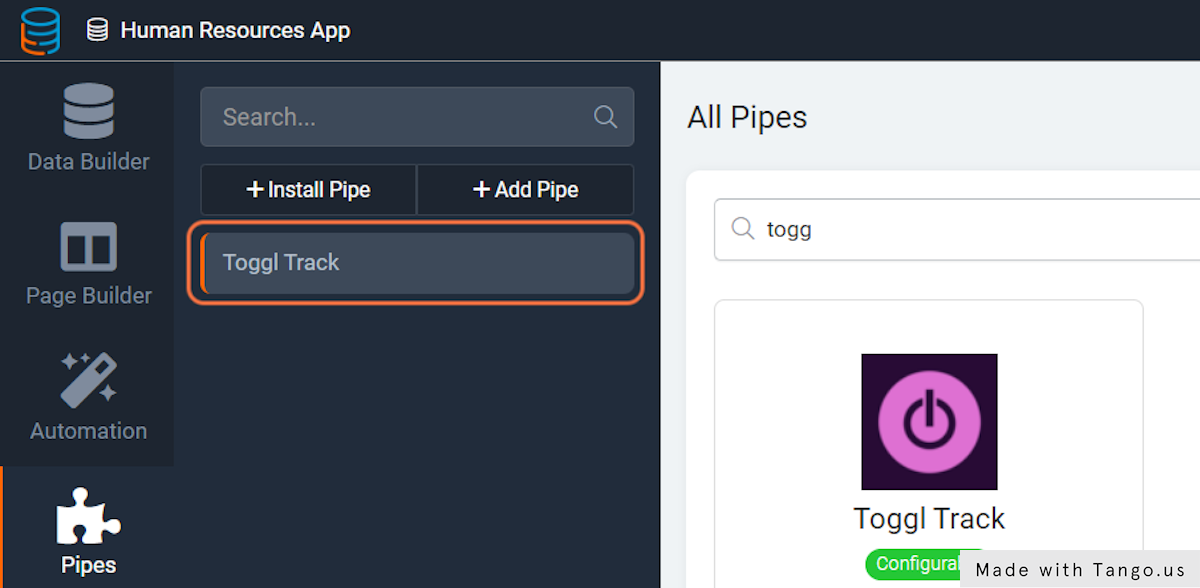
4. Type "toggl"

5. Click on "Install"

6. Click on Toggl Track
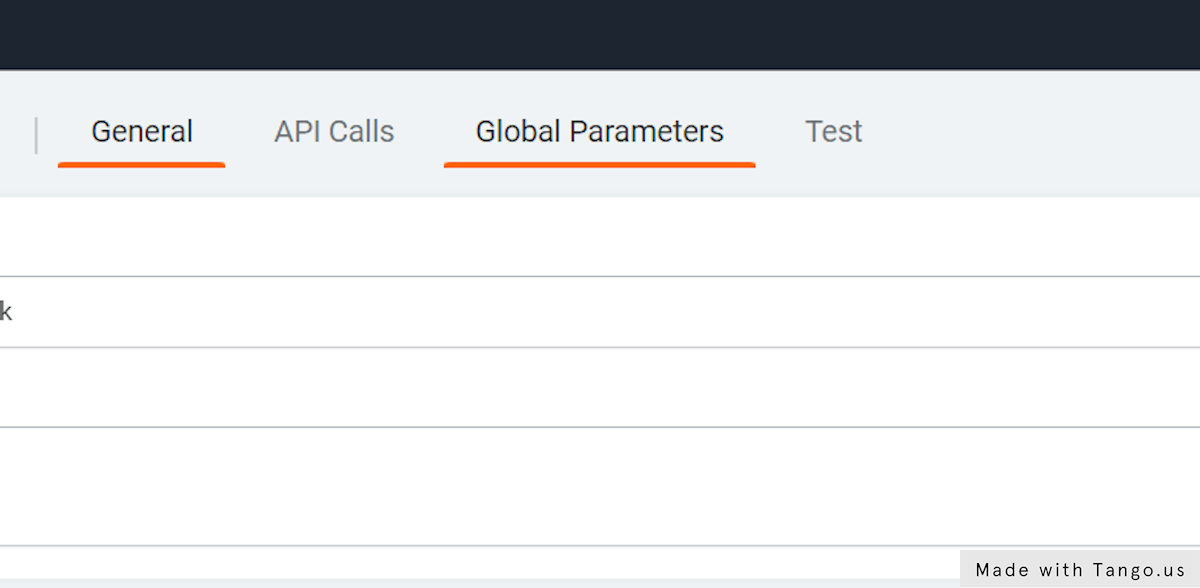
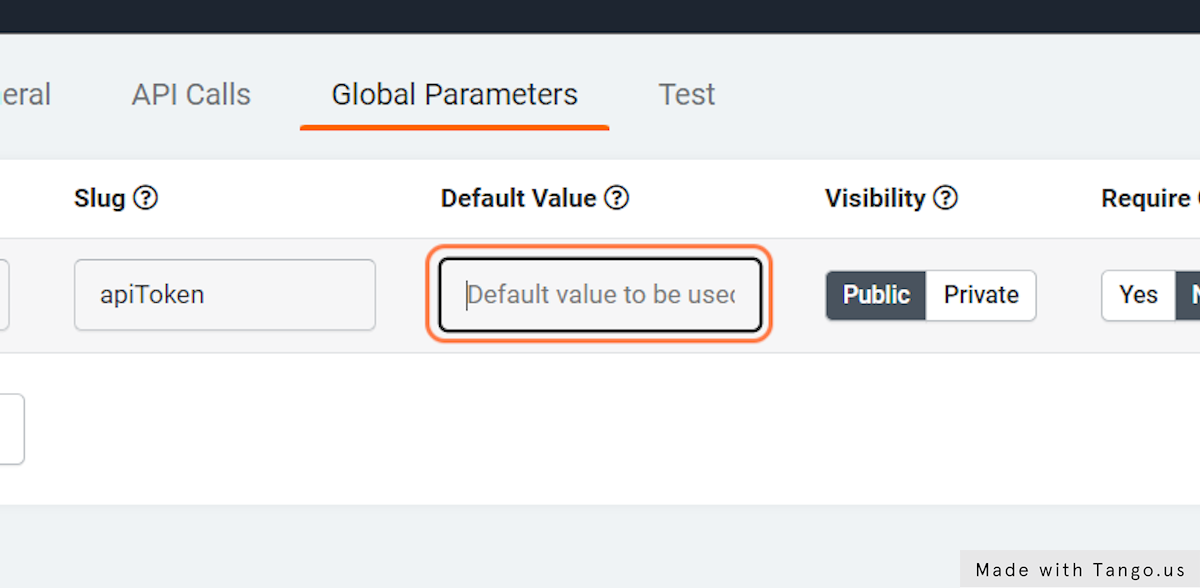
7. Click on Global Parameters
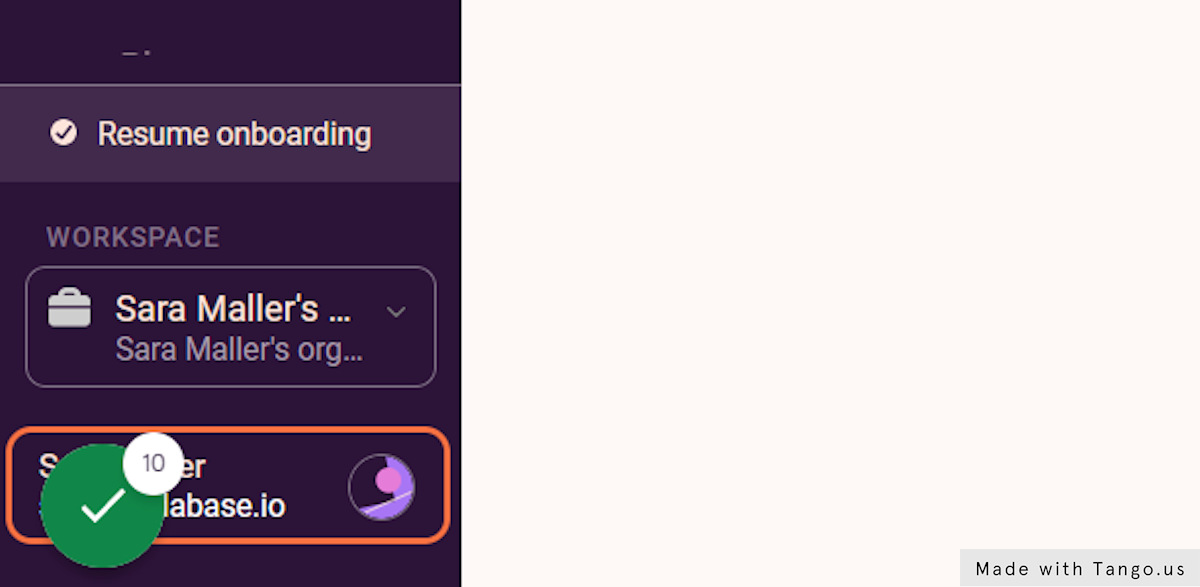
8. Go to Toggl Track, and click on the User Menu on the bottom right corner.
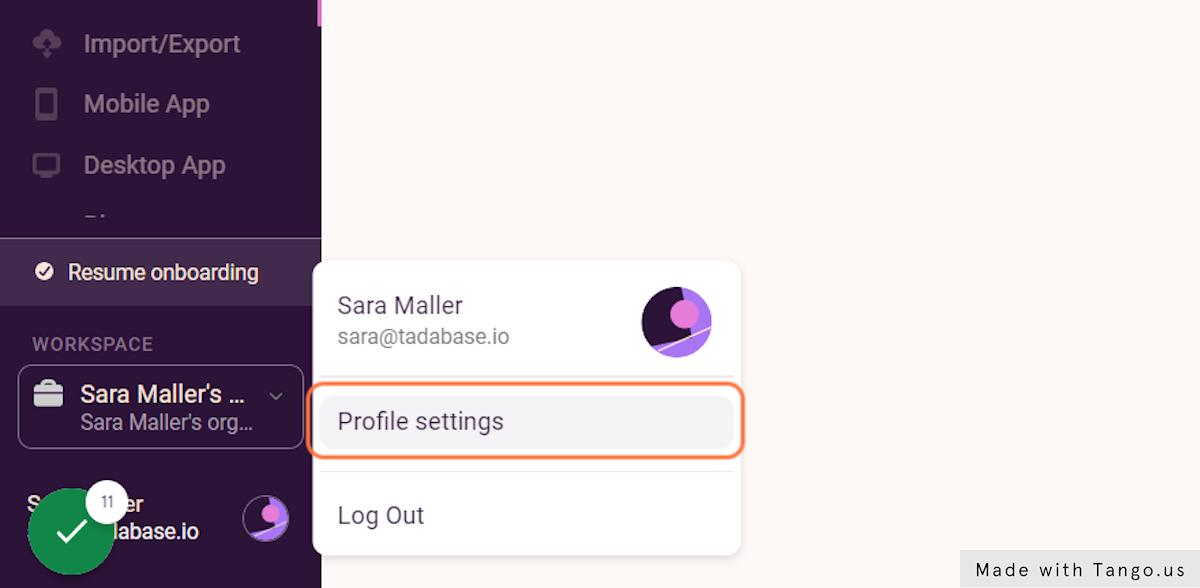
10. Click on Profile settings
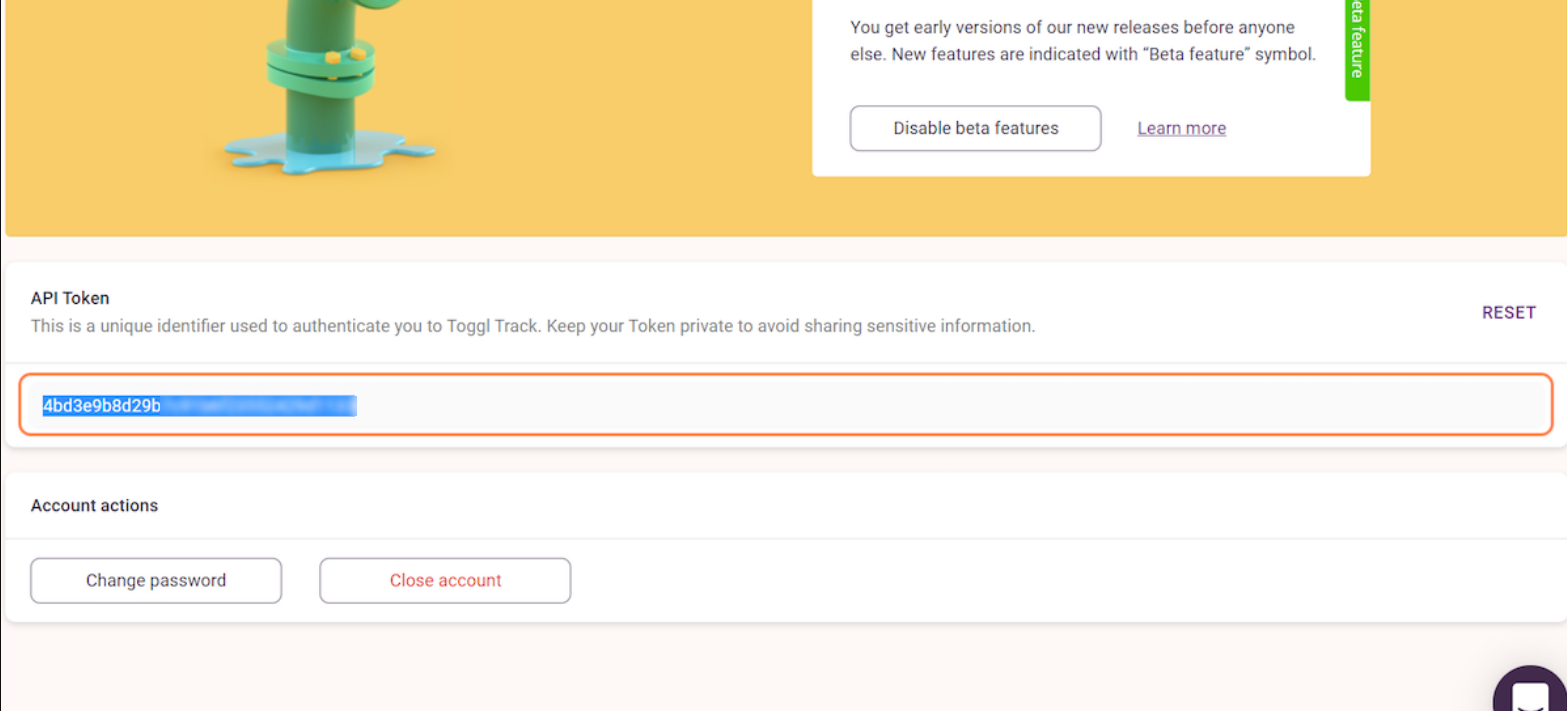
11. Scroll down to find your API Token. Click to reveal your API Token, and copy it to your clipboard.
12. Go back to your Toggl Track pipe in your Tadabase app.
13. Paste your API Token into the default value of the API Token parameter under "Global Parameters"
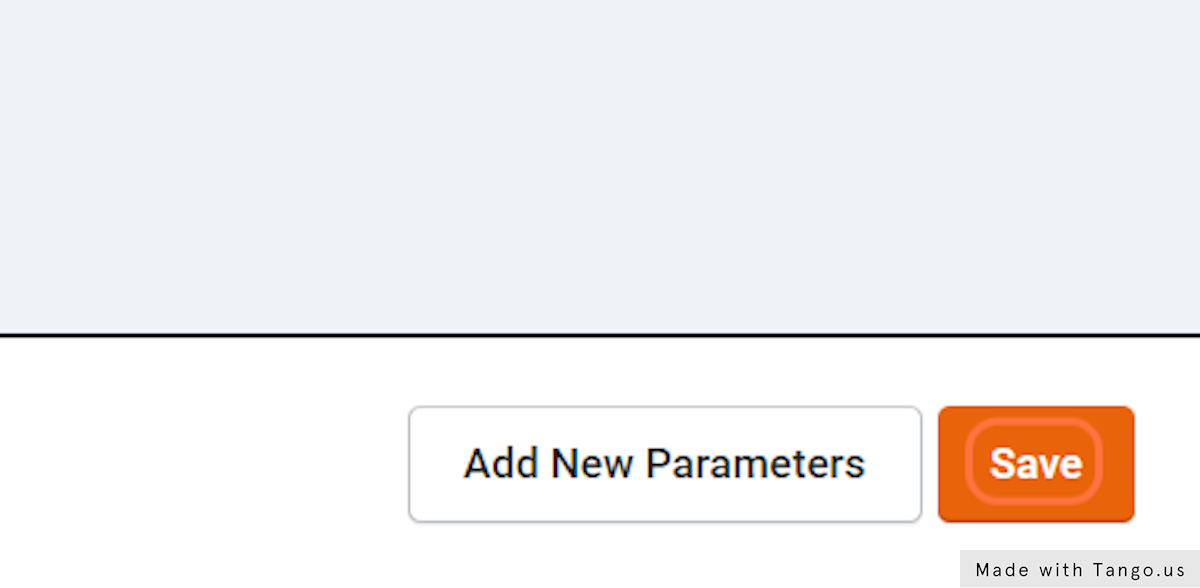
14. Click on Save
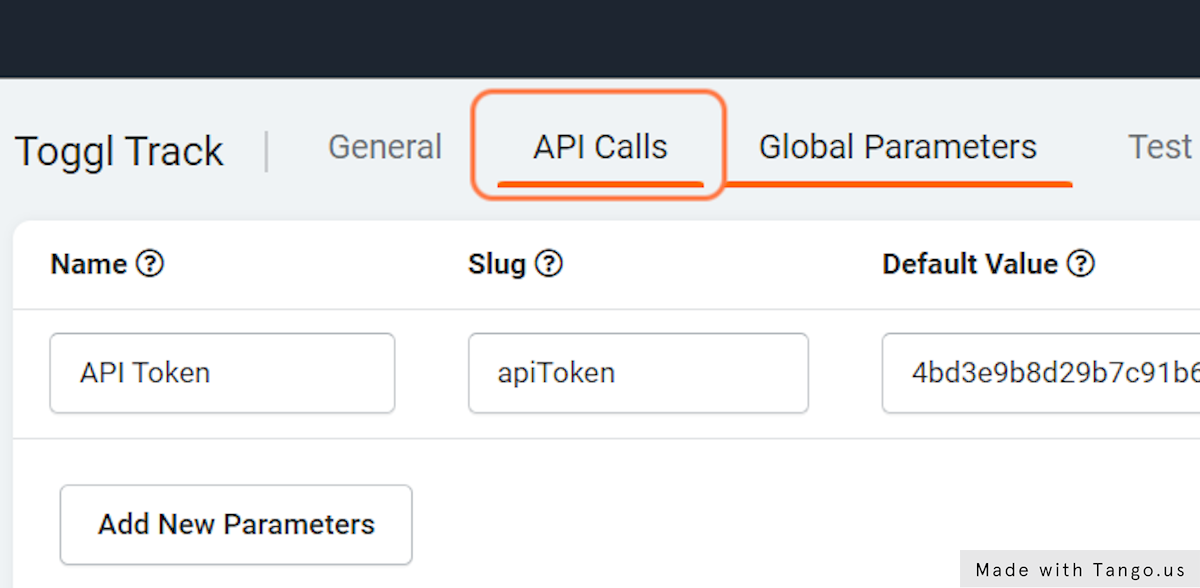
15. Click on API Calls
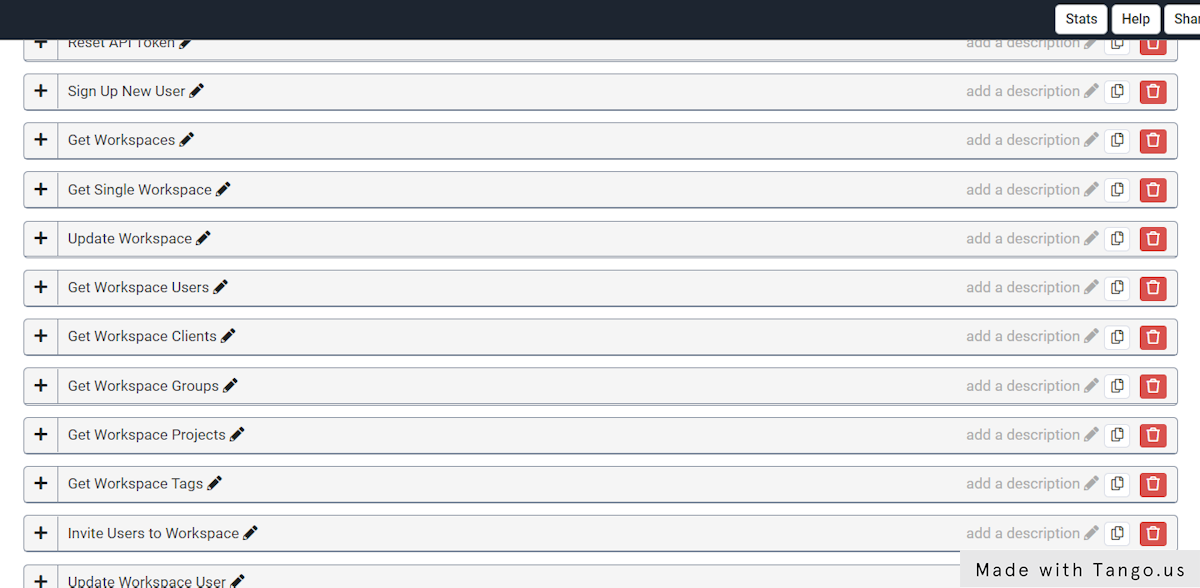
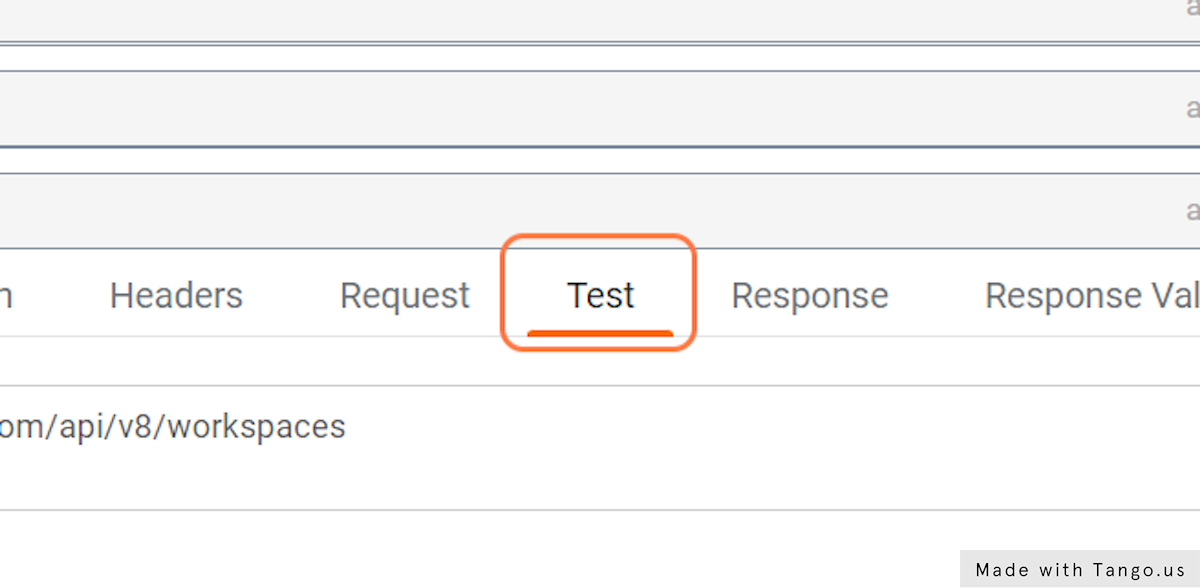
16. Click on 'Get Workspaces'
Toggl Track is divided into workspaces. You will need to retrieve your Toggl Workspace ID to most all of the API calls. Follow the next steps to trigger the "Get Workspaces" API call, and get the ID of your Toggl Workspace.
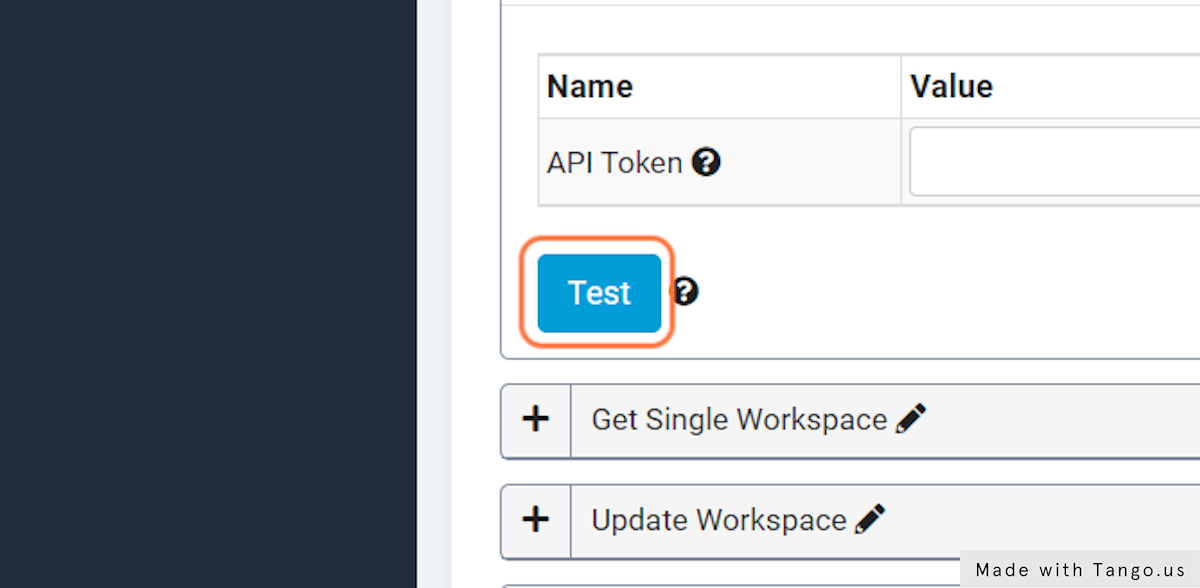
17. Click on Test
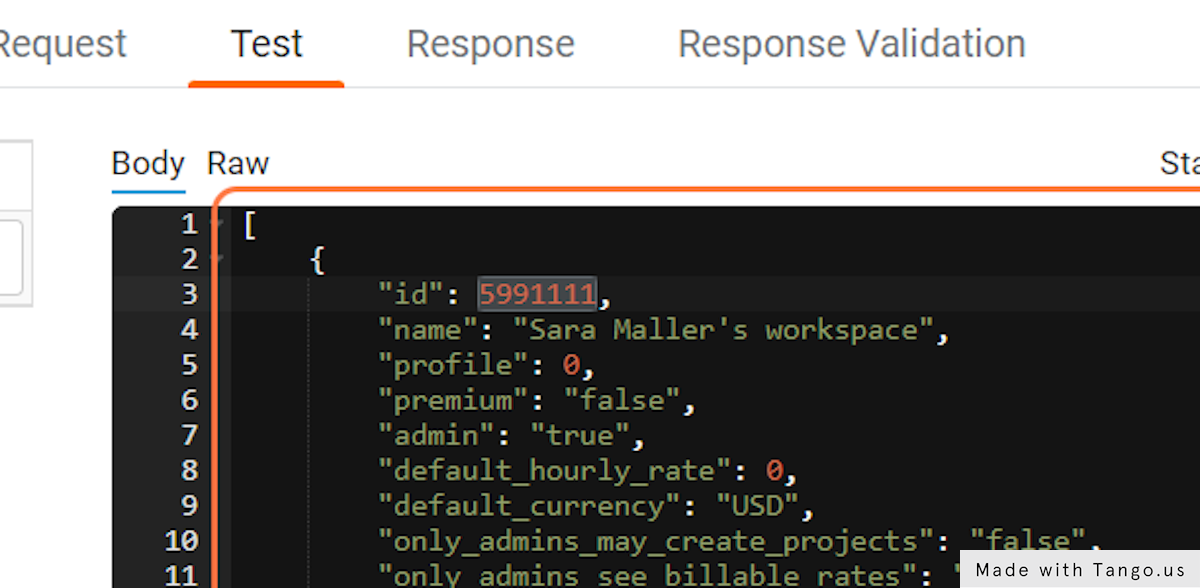
18. Click on Test
19. Copy your Workspace ID and save it for later.
Note: You will need this workspace ID to run most of the Toggl API calls. If you will be using the same Toggl workspace for each call, you can paste your Workspace ID into the default Workspace ID parameter for each API call.
Excellent! You have now completed the initial setup for the Toggl Track pipe. You can stop here, or continue with the next steps to create a basic Table Rule using the Toggl Pipe.
The rule will create a Client in your Toggl app each time a Client record is added in your Tadabase app.
Create a Table Rule using the Toggl Pipe:
20. Click on Data Builder and Create a Table called "Clients" with two text fields: "Client Name" and "Toggl Client ID".
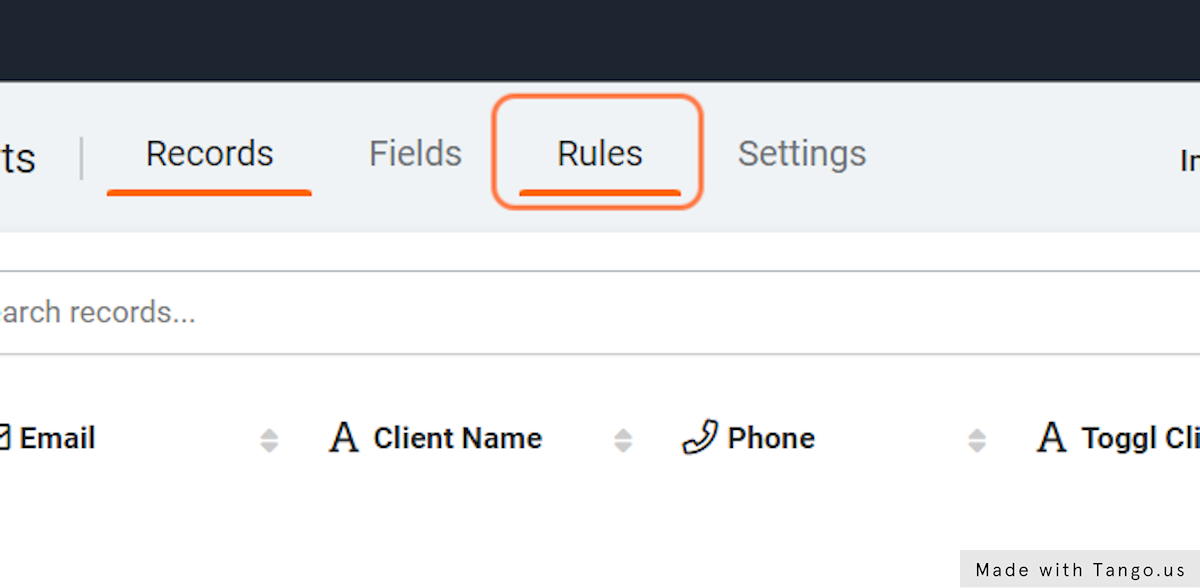
21. Click on Rules
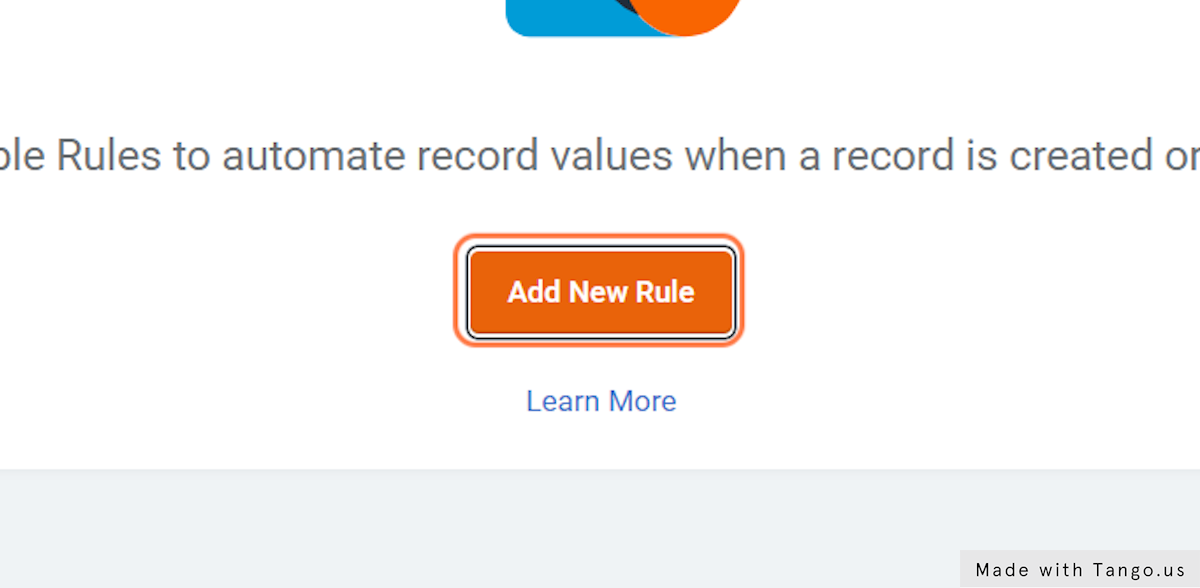
22. Click on Add New Rule
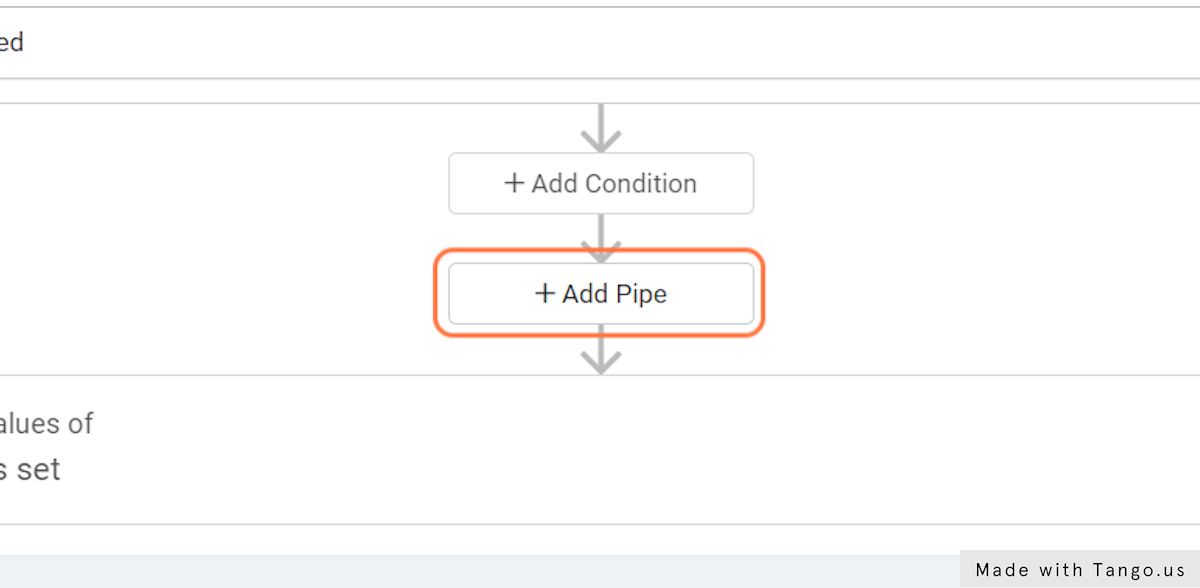
23. Click on 'Add Pipe'
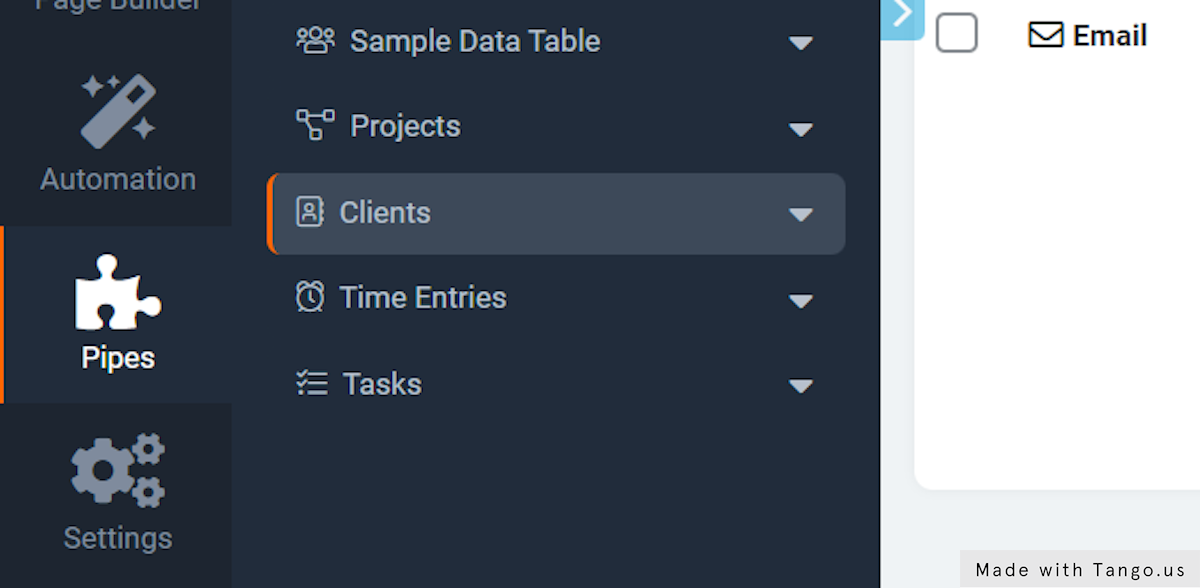
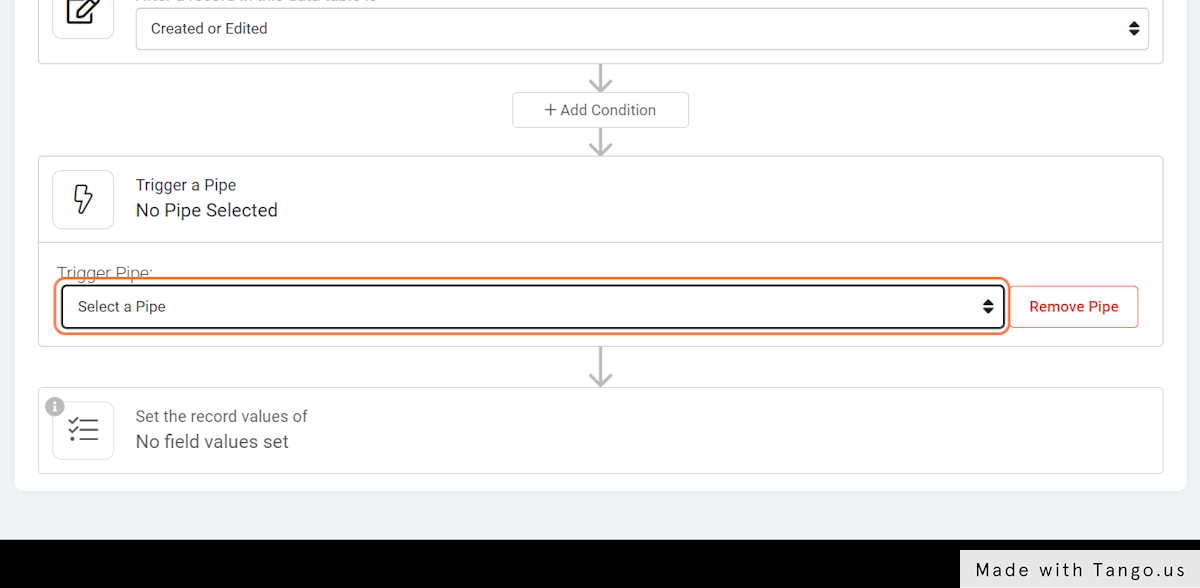
24. Click on 'Select a Pipe' and select Toggl Track
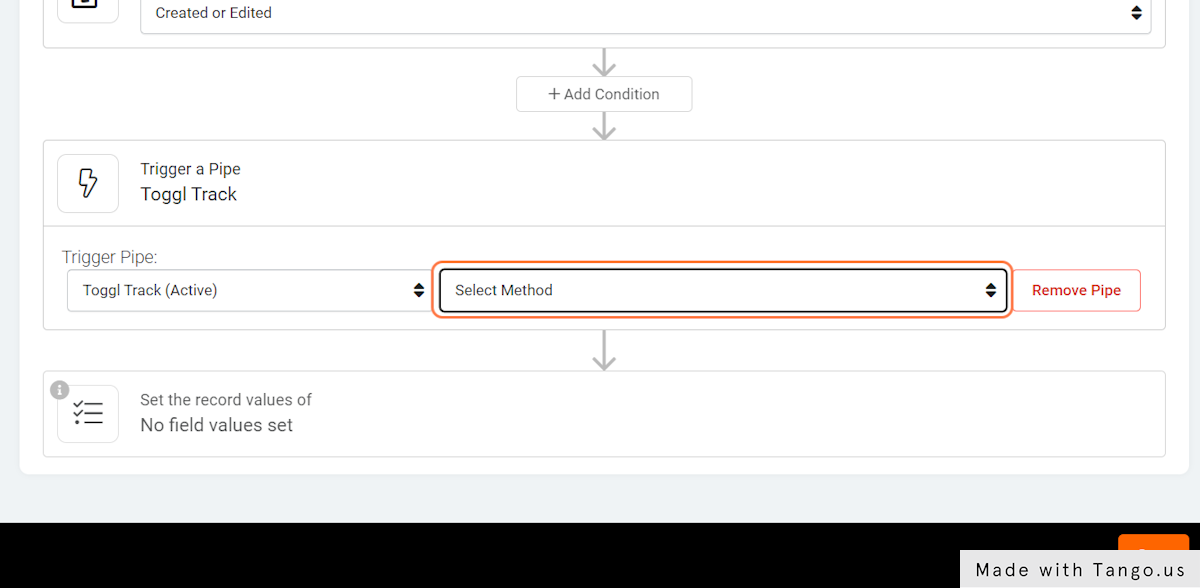
25. Click on 'Select Method' and click 'Create a New Client'
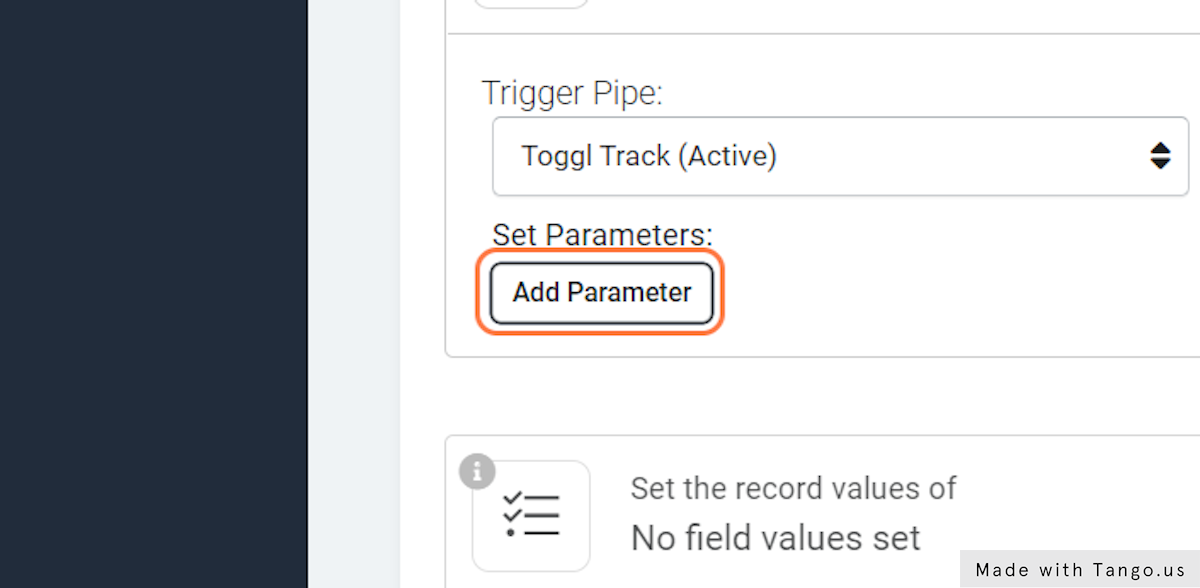
26. Click on Add Parameter
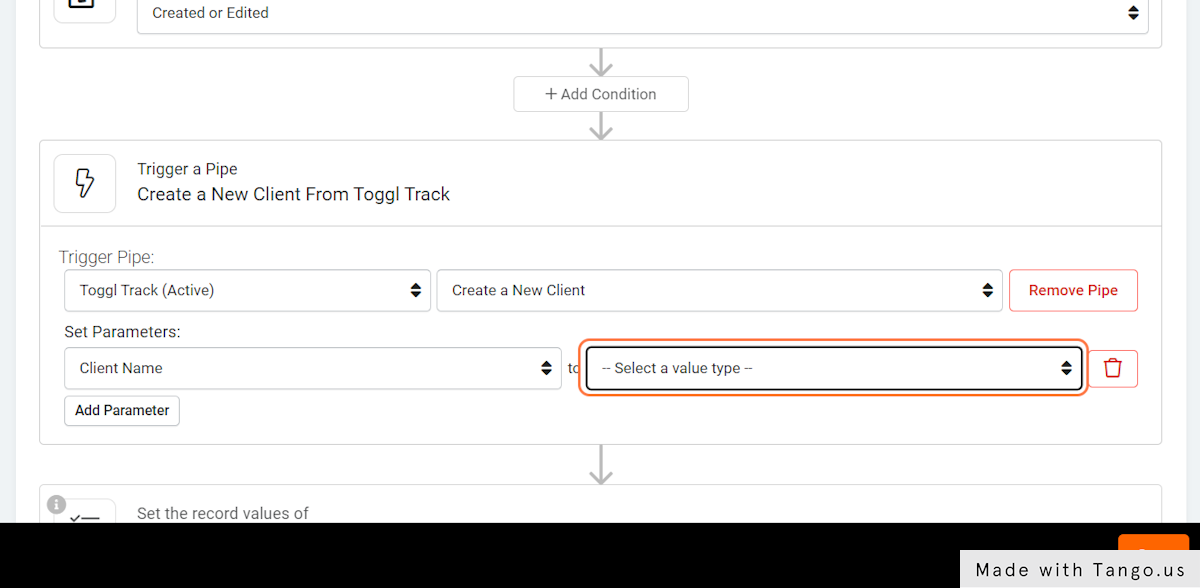
27. Under 'Set Parameters, select Client Name
28. Then, click on --Select a value type-- and select Record Value
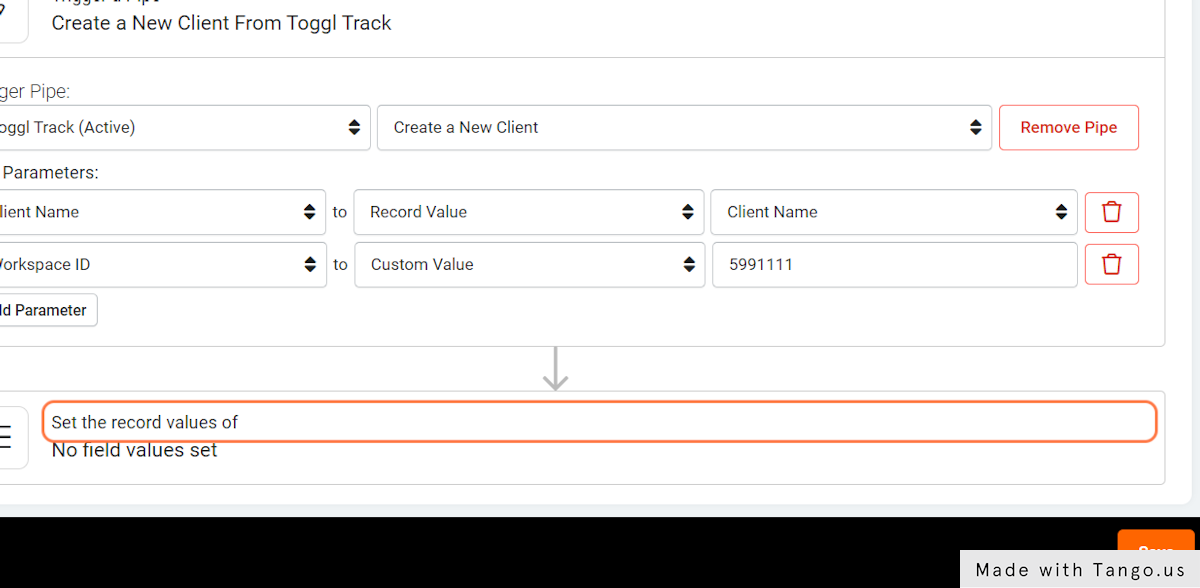
29. Set the Record Value to Client Name
30. Click on Add Parameter
31. Select Workspace ID
32. Select Custom Value, and paste in your Workspace ID from Step 19.
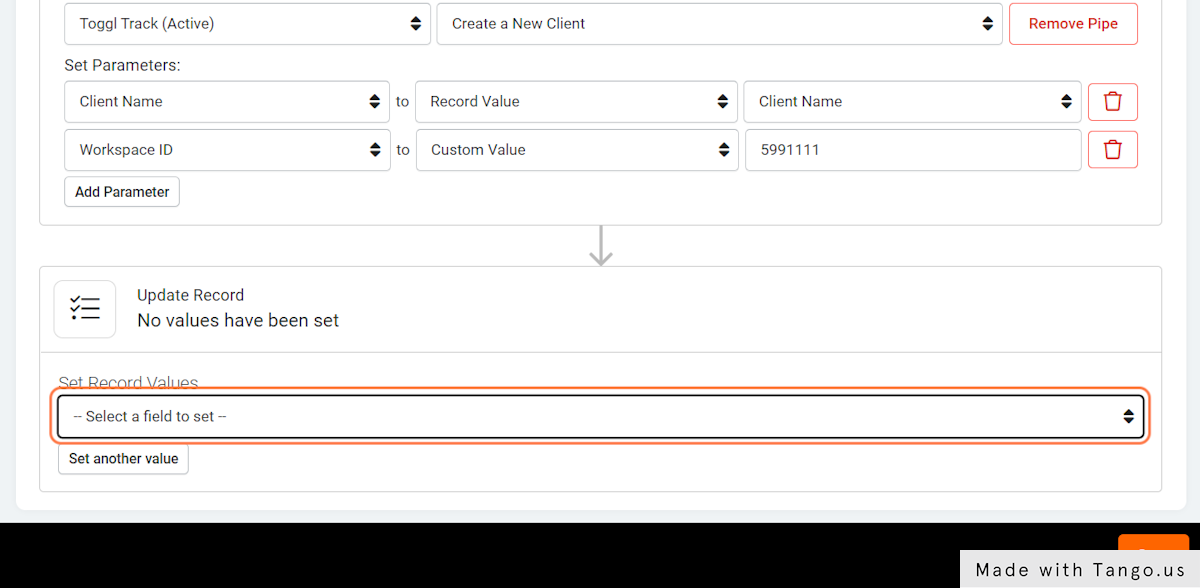
33. Next, click on Set the record values of
34. Click on Set Record Values and select Toggl Client ID (Text)
36. Click on --Select any option-- and select Pipe Value
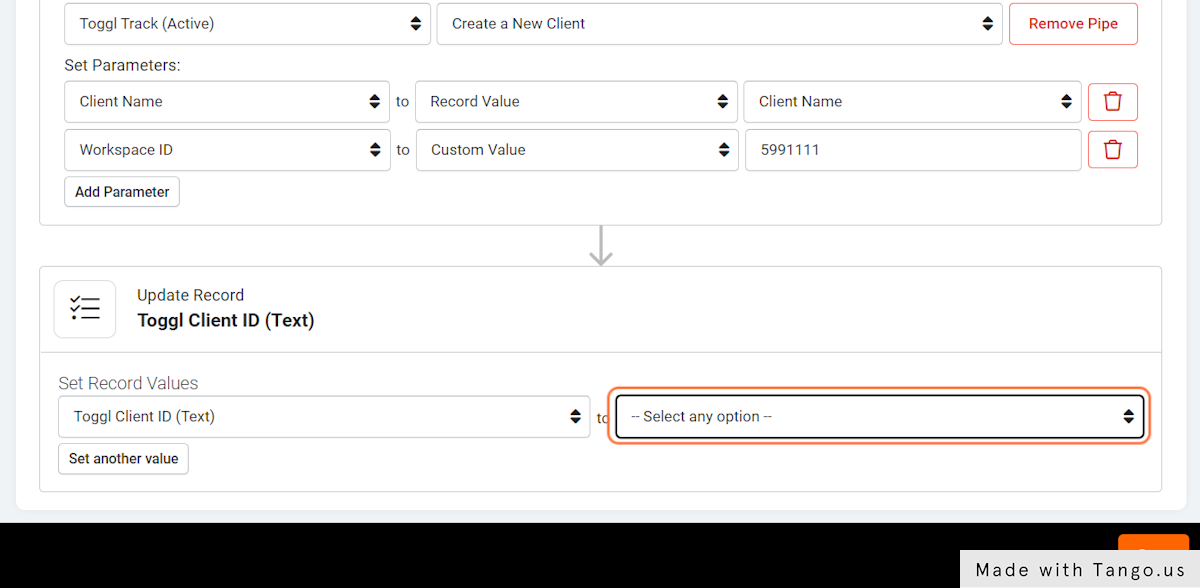
37. Select the pipe value of Client ID (number)
38. Click on Save
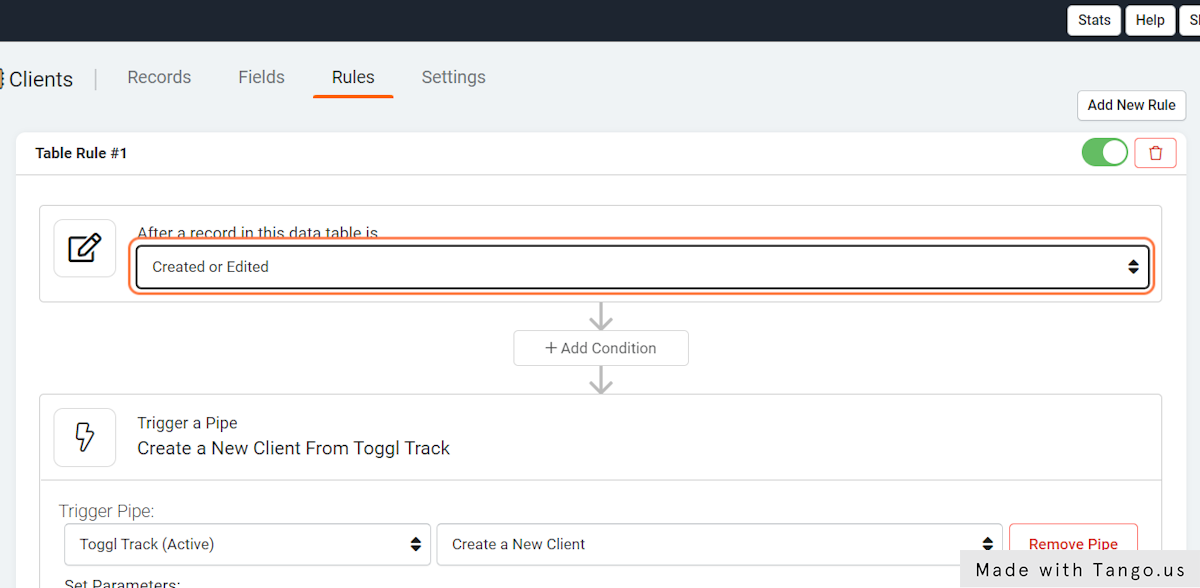
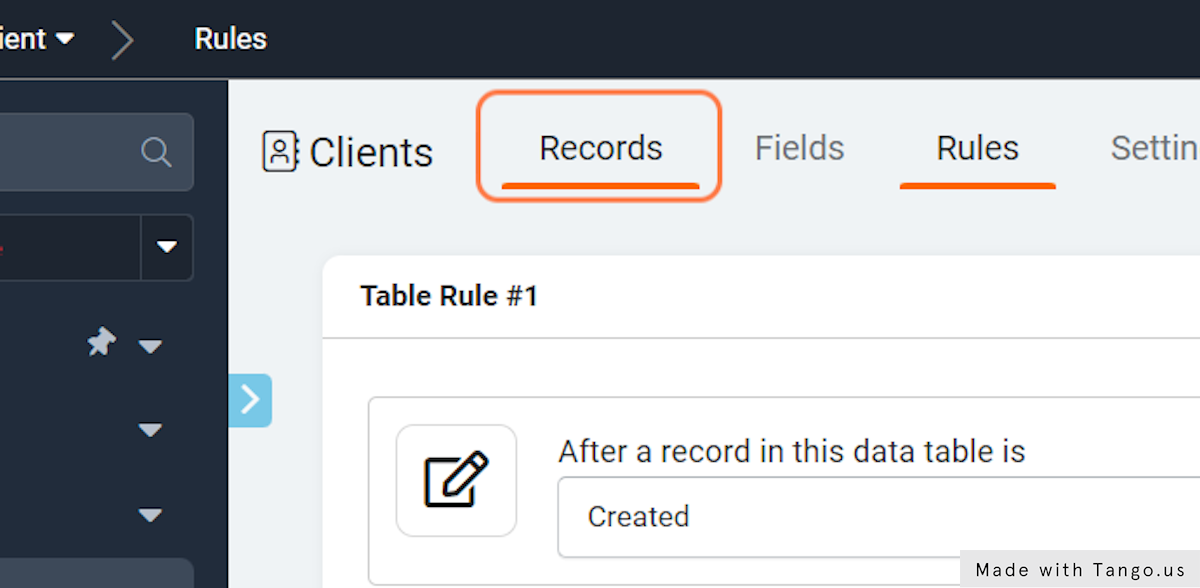
39. At the top of the Table Rule, click on 'After a record in this data table is', and select 'Created' from the dropdown menu.
40. Click on Save
41. Click on Records
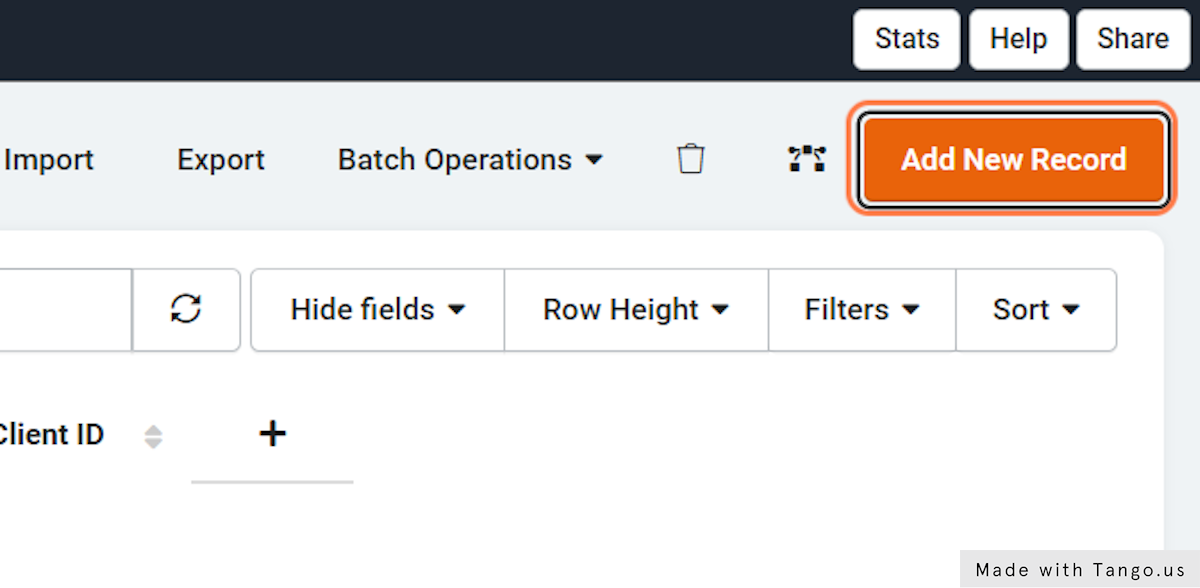
42. Click on Add New Record
43. Create a new client record. Make sure to fill out the Client Name field.
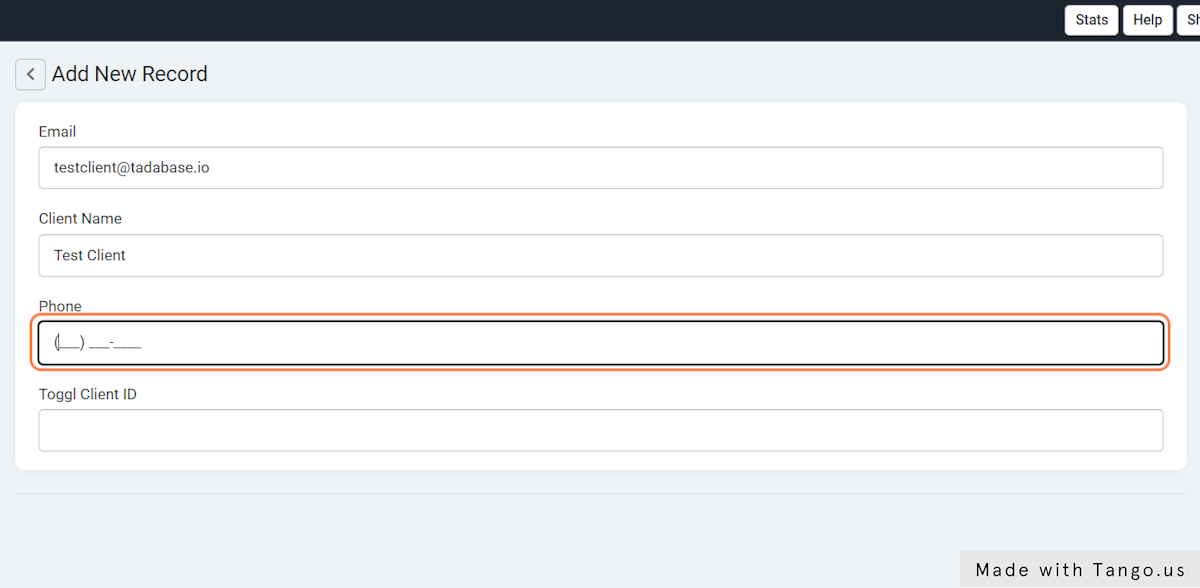
44. Click on Save

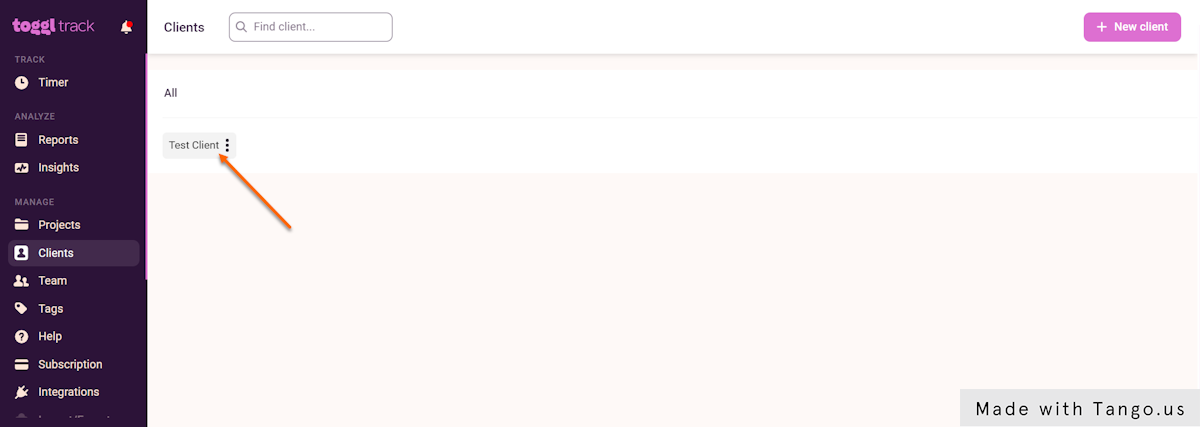
45. The Client ID from Toggl will be automatically saved to your Toggl Client ID field.

46. Check Toggl to see your newly created Client.